Events
Plan customer days, conferences and webinars with a programme, and let people register.
With Events your team plans customer days, conferences, meetups and webinars in the same place as your support: the programme of talks, who can come, the registration form, the people who registered and the invitations you sent. Every published event gets its own page where people register — and you can show it on your own website too.
Switch it on first
Events are an optional part of your workspace. An owner or admin turns them on under Event settings; then Events appears in the sidebar for the whole team.
How an event comes together
- Create the event: title, date, place and who can register. It starts as a draft.
- Plan the programme — talks with times, rooms and speakers — and add a cover image and more images.
- Set up registration: places, waiting list, the questions you ask. See Registration.
- Publish it. Its page goes live, people can register, and you share the link, invite people or put it on your website.
- Follow the registrations, approve people if you chose to, and tick who attended.
Nobody outside your team sees anything until you set an event to Published.
Who can do what
| Members | Owners and admins | |
|---|---|---|
| See events and registrations | ✓ | ✓ |
| Create and edit events, programme, form, registrations, invitations | ✓ | ✓ |
| Delete an event | ✓ | |
| Change Event settings | ✓ |
The events list
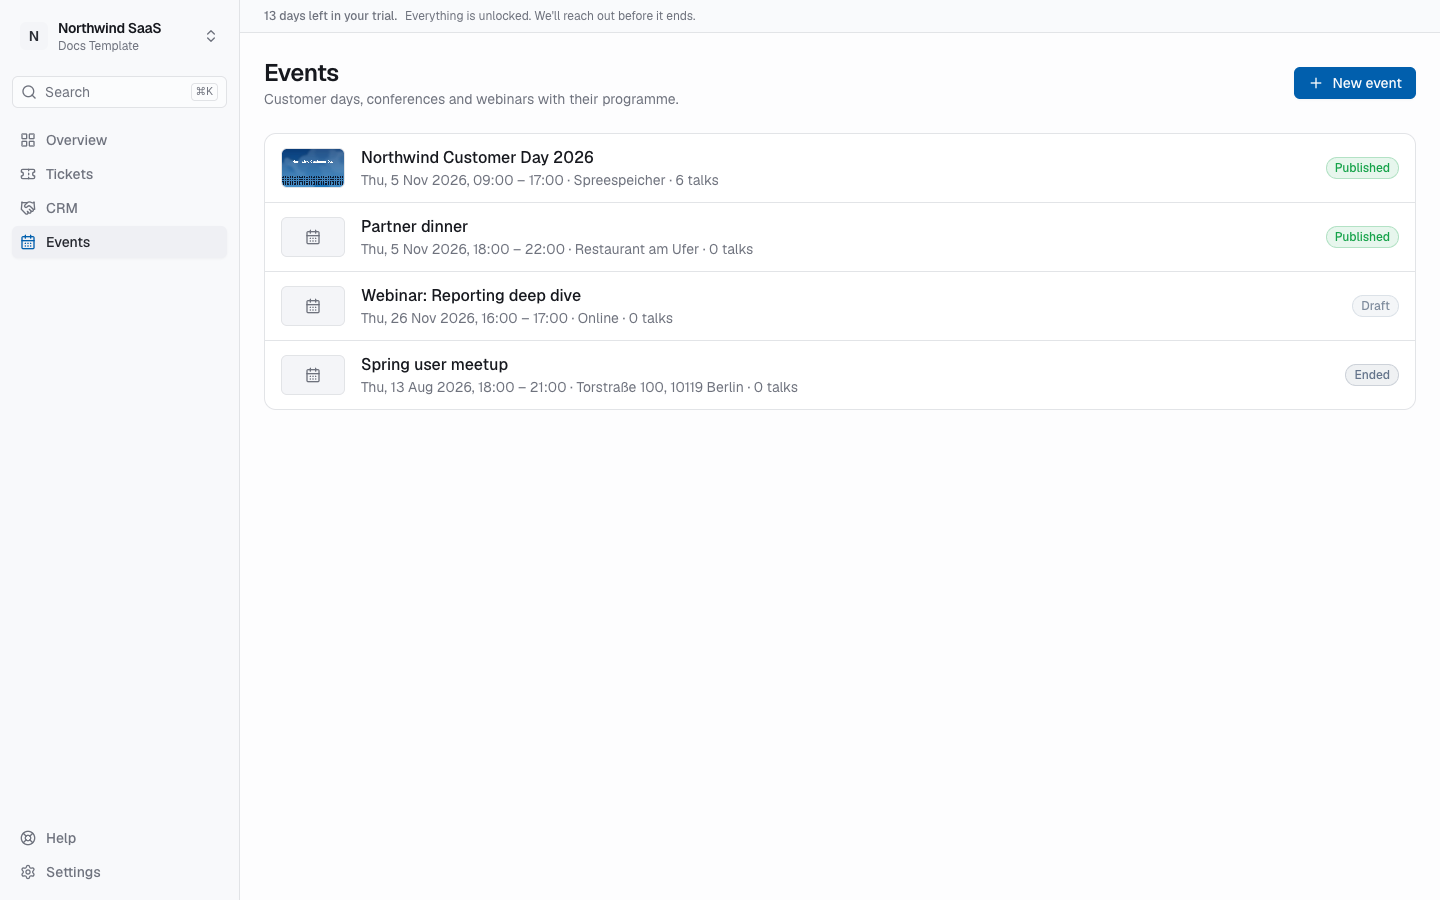
Events in the sidebar lists upcoming events first, then past ones. Each row shows the date and time, where it takes place, how many talks it has, and its status.
Create an event
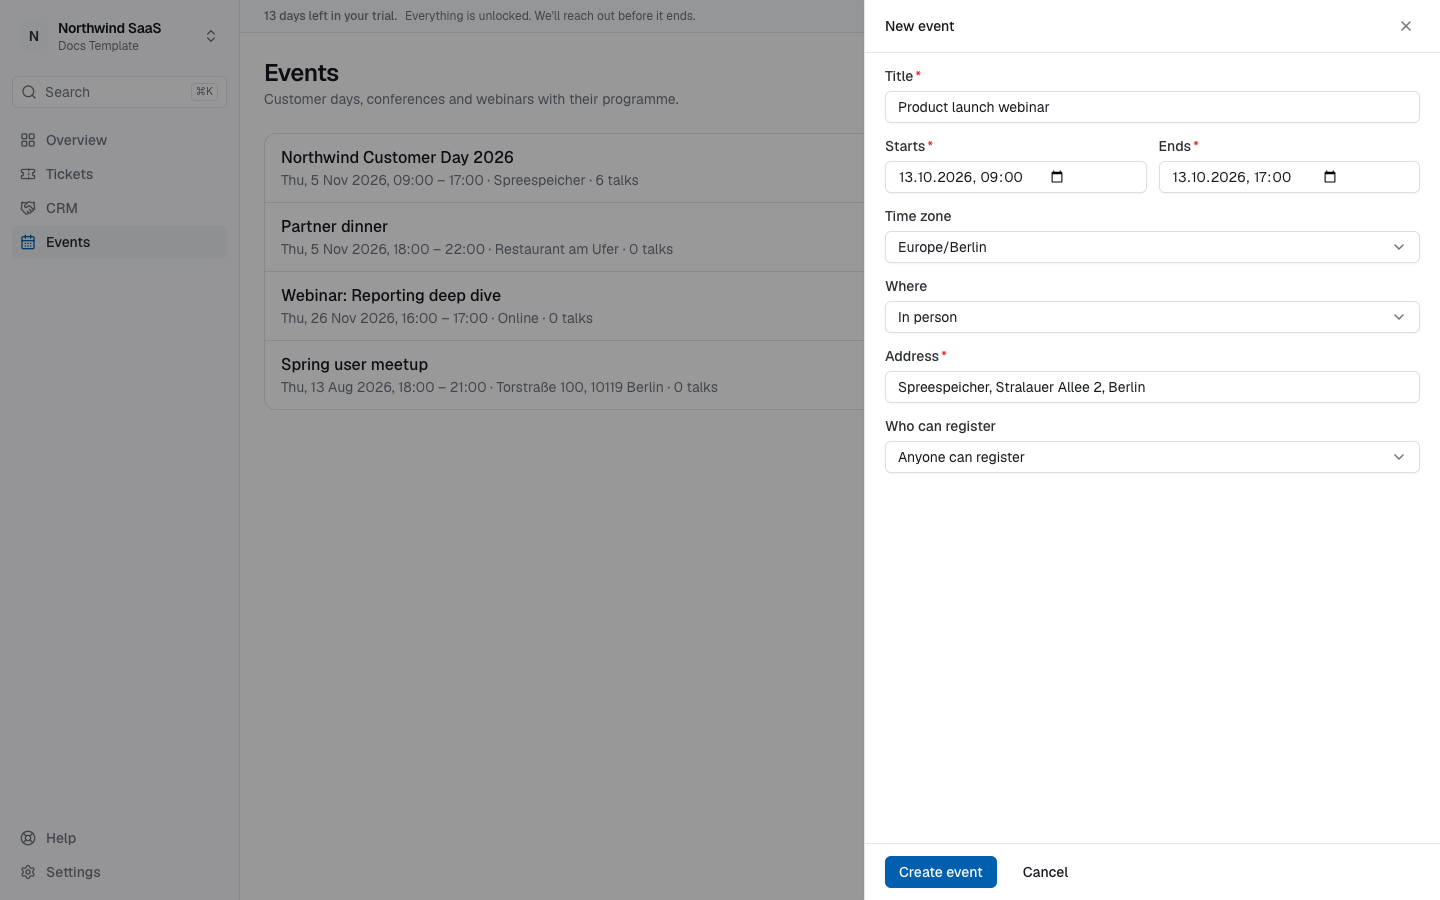
Click New event and fill in:
- Title — the event's web address is made from it. You can change the address later under Details.
- Starts and Ends.
- Time zone — where the event takes place. All times of the event and its talks are shown on this clock, wherever you or your guests are.
- Where — In person with an Address, or Online. For online events you add the Meeting link later; people only get it in their confirmation, it never appears on the event page.
- Who can register:
- Anyone can register — everyone with the link.
- Anyone can register, you approve each one — people ask for a place, you decide.
- Only invited people — only people with a personal link from an invitation.
Click Create event. The event opens as a Draft.
The event page in your dashboard
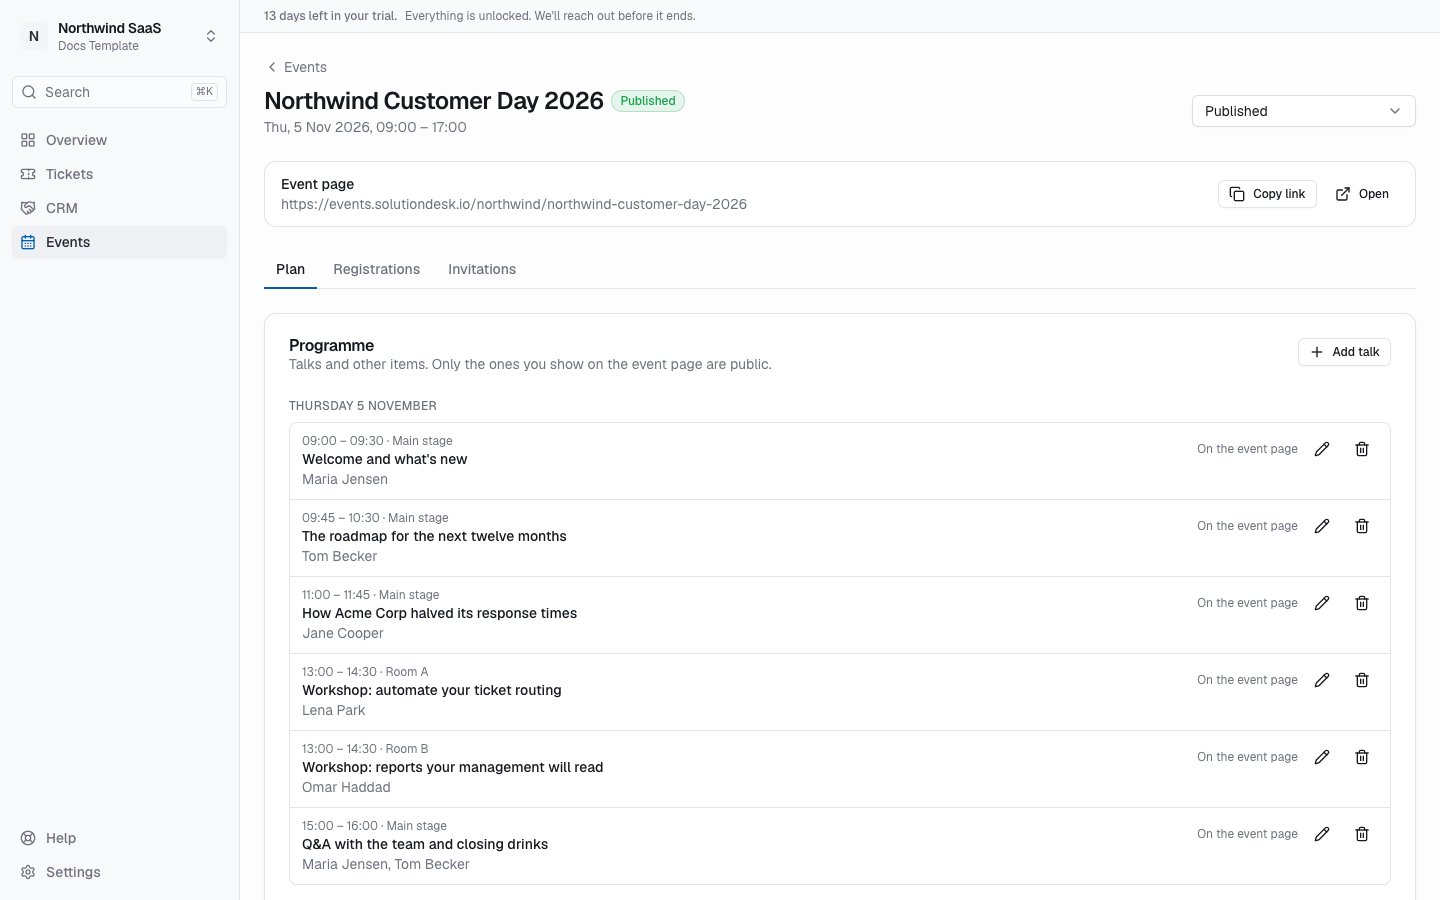
At the top of an event you see its title, status and date, the Status menu, and the address of its Event page with Copy link and Open. Below are three tabs:
- Plan — programme, details, images, registration settings, the registration form, the announcement for your website and the event's languages.
- Registrations — everyone who registered. See Registrations.
- Invitations — personal invitations. See Invite people.
Plan the programme
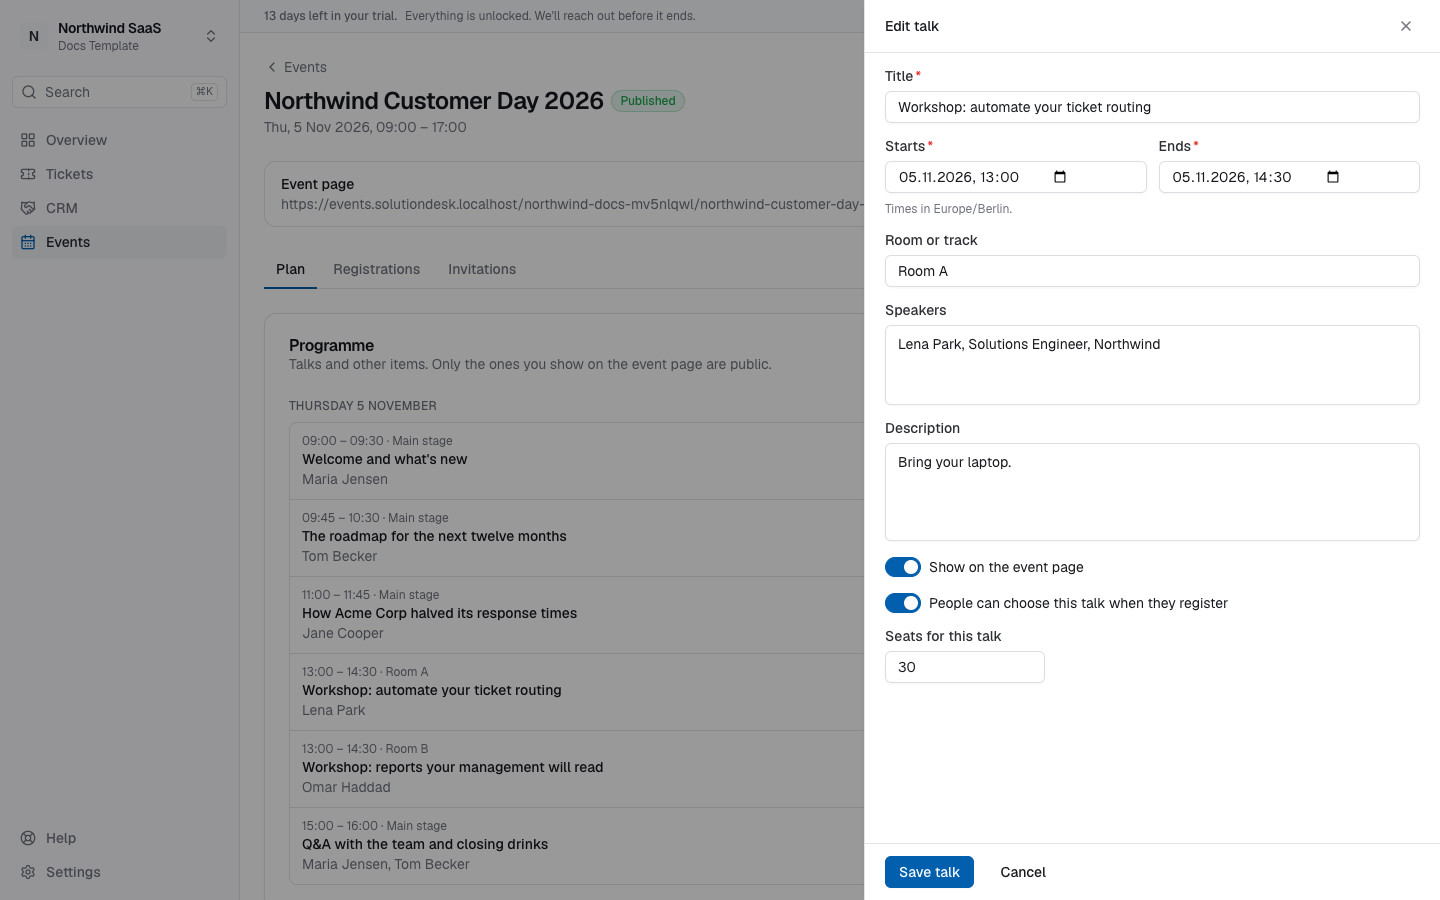
Programme lists the talks by day, in time order, with their room or track and speakers. Click Add talk, or the pencil next to a talk to edit it:
- Title, Starts and Ends — the talk must take place during the event. Times are on the event's clock.
- Room or track — talks at the same time in different rooms appear side by side.
- Speakers — one per line. Anything after the first comma is their role, e.g.
Lena Park, Solutions Engineer, Northwind. - Description.
- Show on the event page — only these talks are public. Leave it off for planning notes like setup or breaks you don't want to announce.
- People can choose this talk when they register — for workshops or sessions people sign up for individually. Give it Seats for this talk if space is limited; once it's full, it can't be chosen anymore.
Click Save talk. The bin removes a talk.
Talks people can choose only show up in the form once you add the Choose talks question to the registration form.
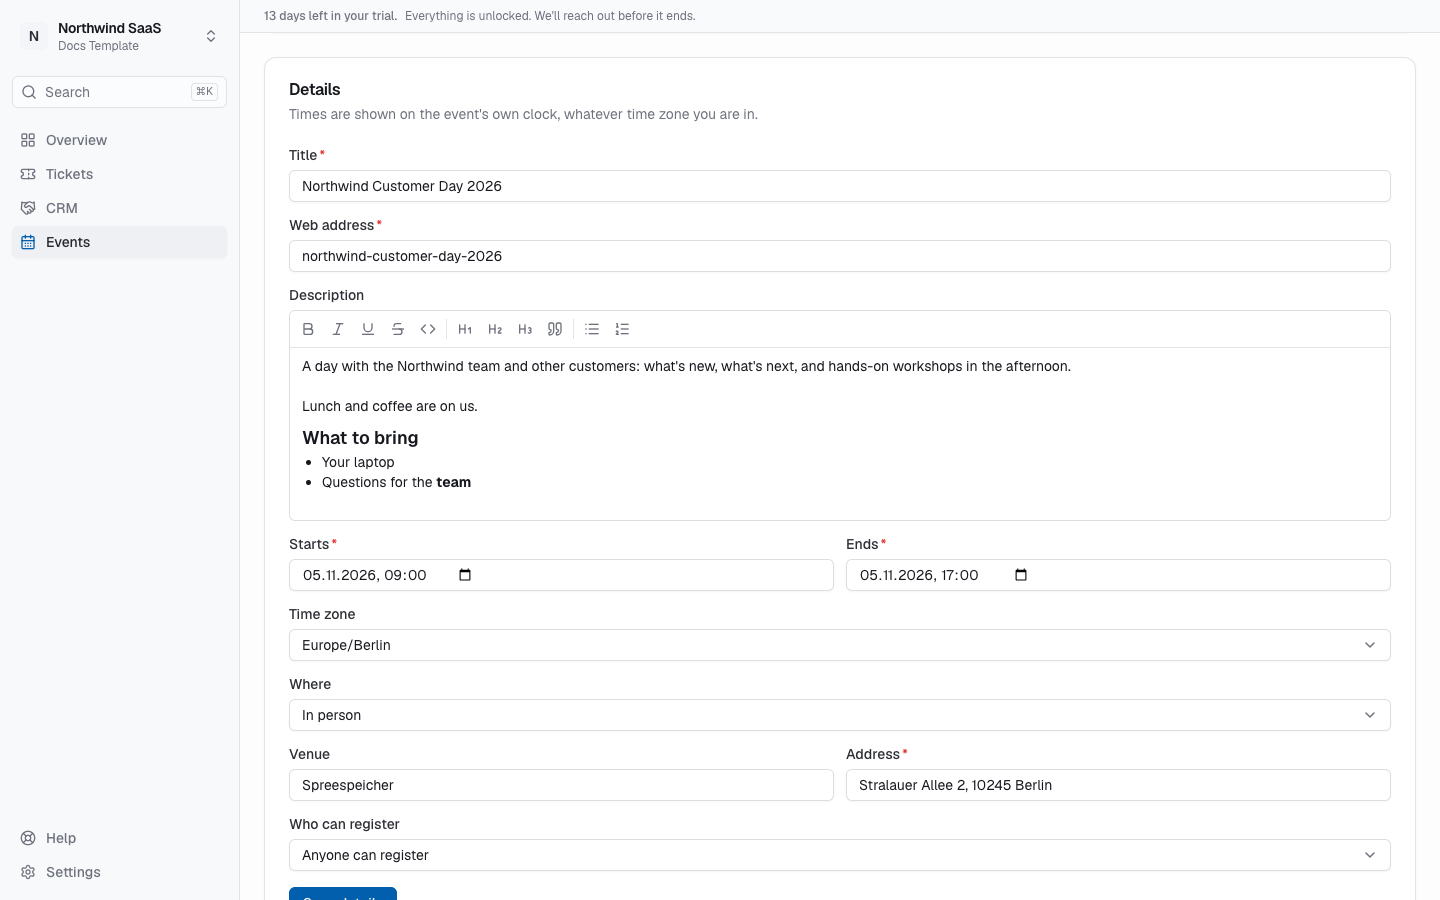
Details
Details holds everything you entered when creating the event, plus:
- Web address — the last part of the event page's address.
- Description — shown on the event page. Format it with the toolbar: headings, bold and italic text, lists and quotes. Links you paste become clickable.
- Venue — the name of the place, next to the Address.
- Show the programme to people without an invitation — for Only invited people: whether the event page shows the programme to everyone or only the date and place.
Click Save details.
Images
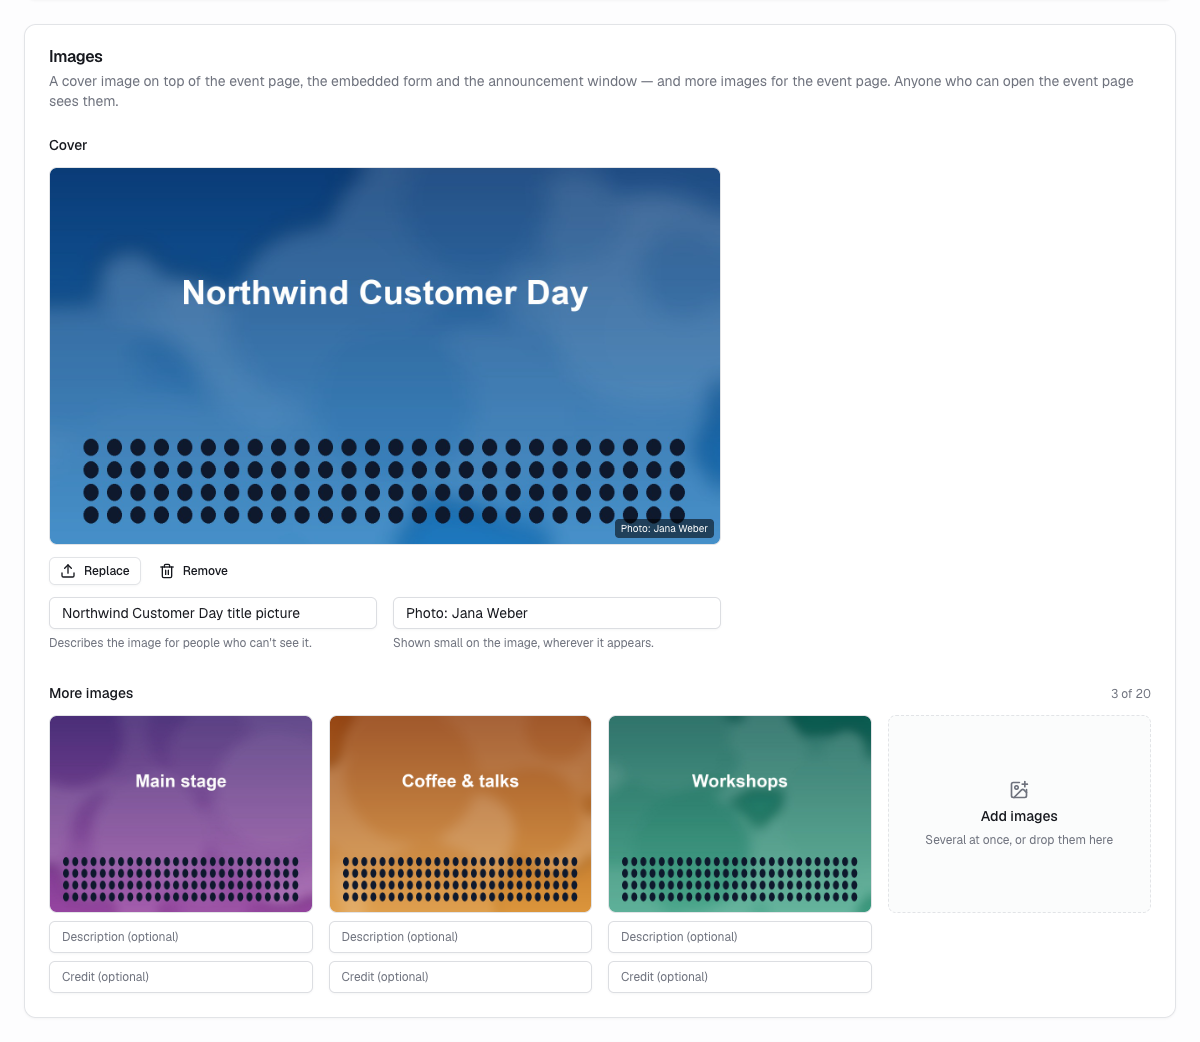
Images gives the event a face:
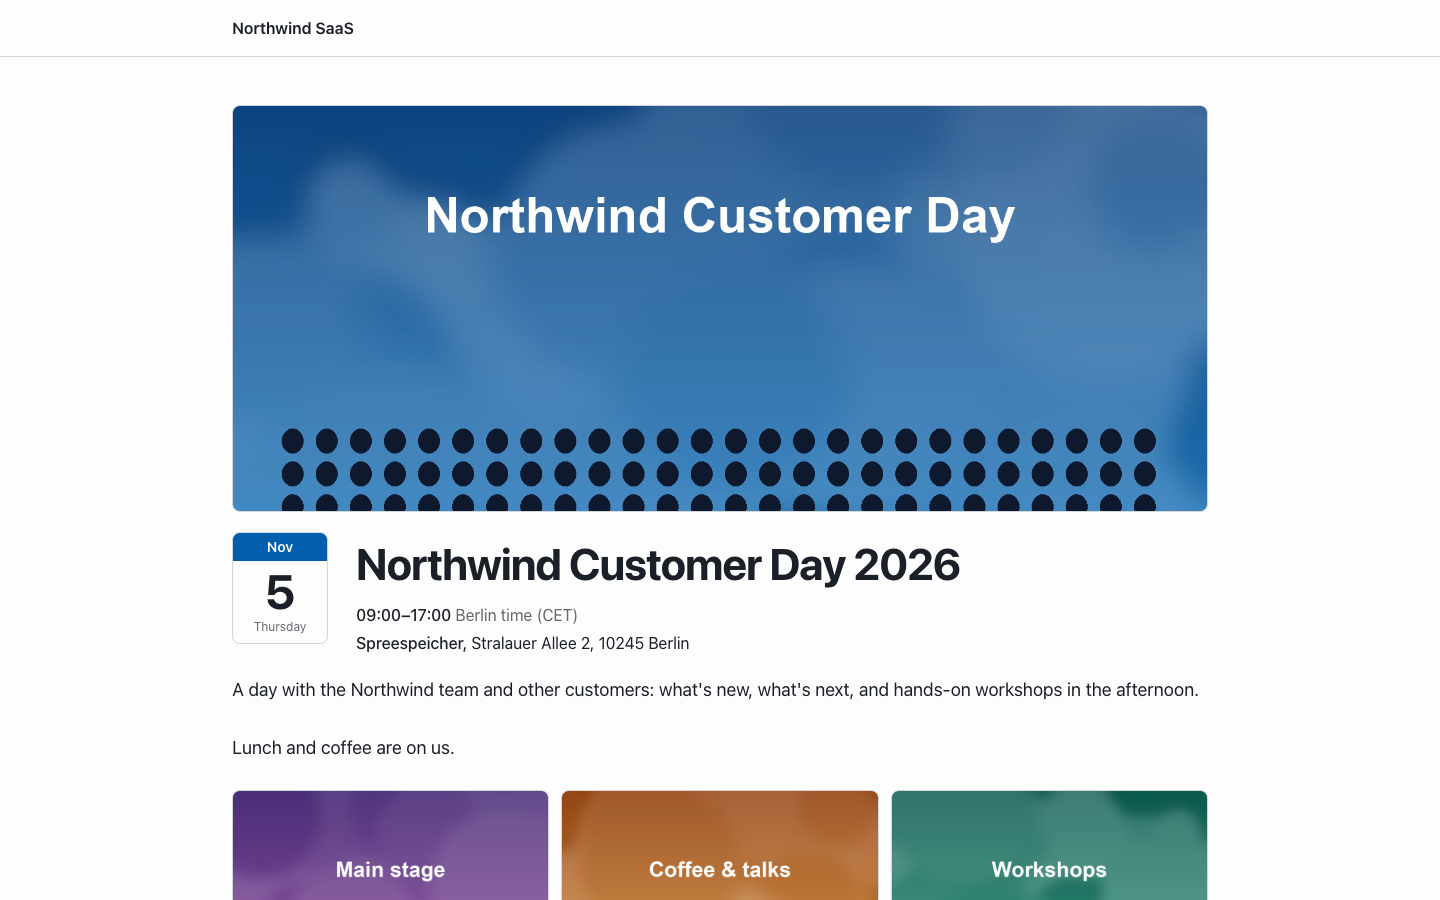
- Cover — shown on top of the event page, the embedded form and the announcement window on your website, as the small picture in the events list, and when someone shares the event page's link. Click Upload a cover image or drop an image on it; later Replace or Remove it. Wide images work best, e.g. 1600 × 900 pixels.
- More images — up to 20 pictures shown below the description on the event page, e.g. the venue, last year's stage or the speakers. Click Add images to pick several at once, or drop them on the card. Hover over an image to move it left or right or remove it.
PNG, JPEG, WebP and GIF work, up to 5 MB each. Every change is saved straight away. Give each image a short description — it's read out to people who can't see it. If you need to name who took a picture, add a credit such as “Photo: Jana Weber”; it shows small in the corner of the image on the event page and in the announcement window. Both are saved when you leave the field.
Images are public
Anyone who can open the event page sees its images, and their addresses work everywhere — also while the event is a draft, for whoever has the address. Only upload images you may show publicly. A removed image is deleted.
Languages
An event can be offered in several languages. Visitors then see it in theirs: the event page, the registration form, the announcement on your website and every email they get. The languages you can choose are your workspace's languages — add more under Settings → Languages.
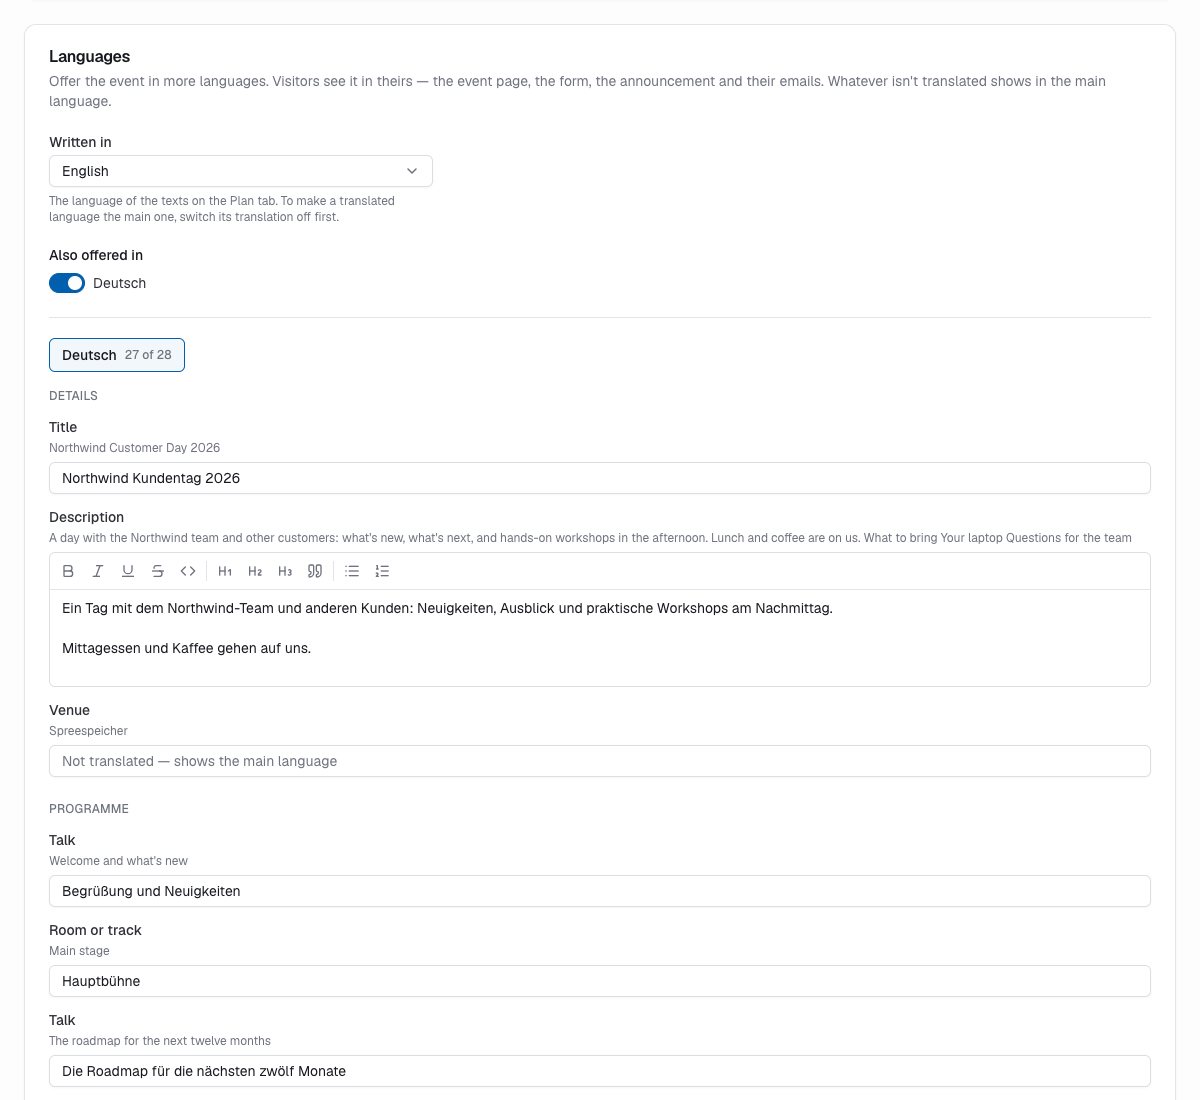
On the Plan tab, Languages:
- Written in — the language you write the event's texts in on the Plan tab. New events start in your workspace's default language.
- Also offered in — switch on the other languages the event should be available in.
- Pick a language and translate. Each text shows what you wrote above it; the counter on the language says how much is translated. You can translate the title, description, venue, the programme (talks, rooms, descriptions), every question of the registration form with its options and consent text, the announcement and the image descriptions.
- Click Save languages.
Whatever isn't translated shows in the main language, so you can start with the title and the form and add the rest later.
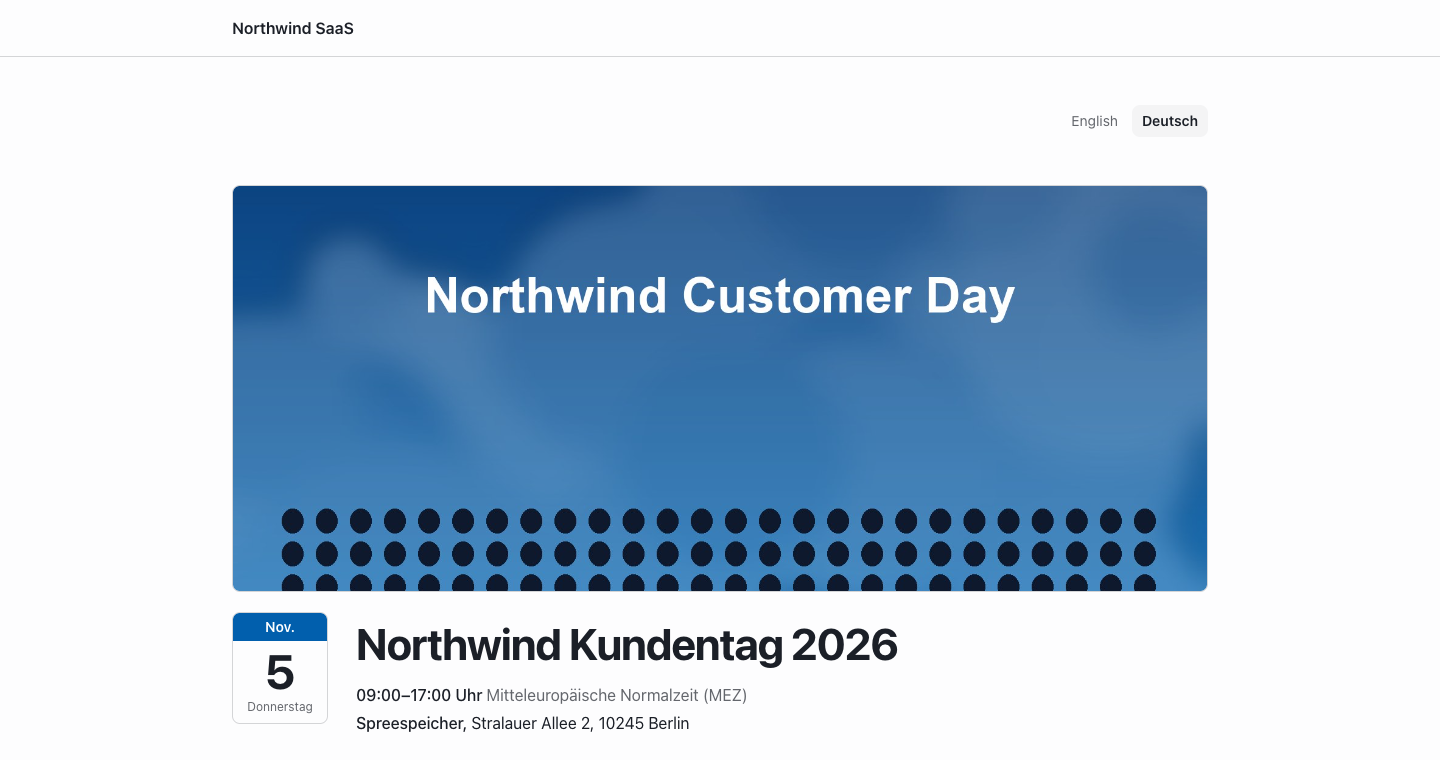
Which language a visitor sees. The event page uses the language in its address (?lang=de), then the visitor's browser language, then the main language. A language switch at the top of the page lets visitors change it. Buttons, notices, dates and emails exist in German and English; in other languages the event's texts show in that language and the rest in English.
People keep the language they registered in: their confirmation, status emails and the page to manage their registration use it. On the Registrations tab you see each person's language once the event is offered in several. Invitations go out in the main language.
Publish and change the status
The Status menu at the top moves the event between:
| Status | What happens |
|---|---|
| Draft | Only your team sees it. The event page address is shown but doesn't work yet. |
| Published | The event page is live and people can register (until Registration closes, if you set it). |
| Registration closed | The event page stays up, but nobody can register anymore. |
| Ended | The event is over. |
| Cancelled | The event page says it's cancelled. Registered people are not emailed automatically — let them know yourself. |
Share the event page
Once the event is Published, use Copy link to share its page or Open to look at it. The page shows the cover image, the date, place, description, more images, the public talks and the registration form, in your workspace's name.
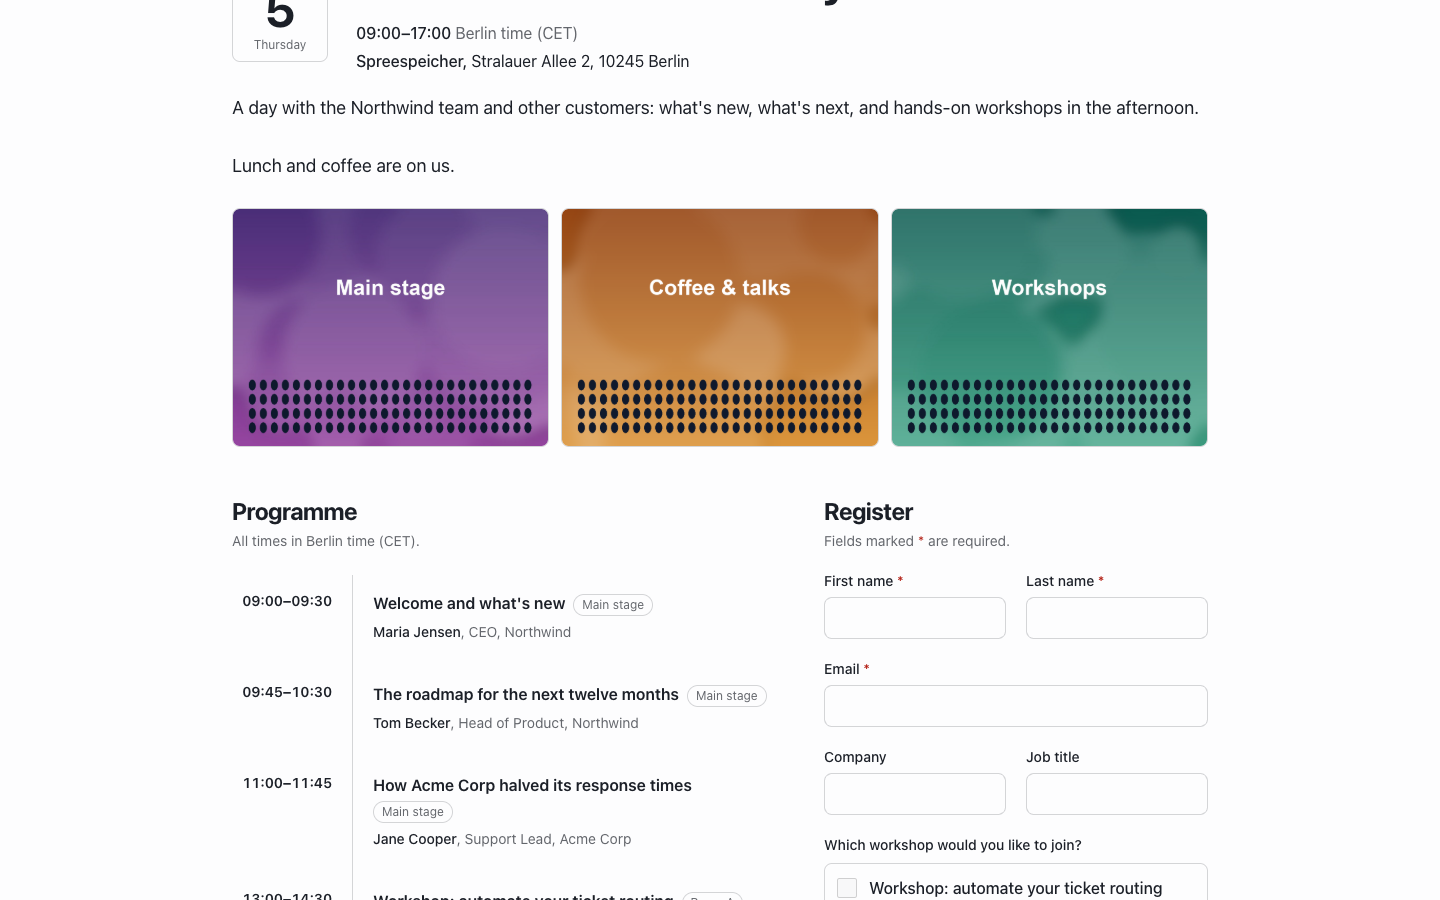
If you set up your own address under Event settings, the link uses it. For events with Only invited people, the page shows the event, but registering needs the personal link from an invitation.
To show the event on your own website, or announce it there with a bar or a window, see On your website.
When two people edit at once
If a colleague saved the same event while you were editing, your save is refused with Someone else changed this event in the meantime. The page reloads with their changes — make yours again. Nothing is overwritten silently.
Delete an event
Owners and admins find Delete event… at the bottom of the Plan tab. Confirm with Delete for good. This removes the event with all its registrations and invitations and cannot be undone. If people already registered, consider setting the event to Cancelled instead.
Related
- Registration — places, the form, registrations and invitations
- On your website — embed the form, announce events, build your own
- Event settings
- MCP for agents → Events — let an AI agent plan events and answer registrations